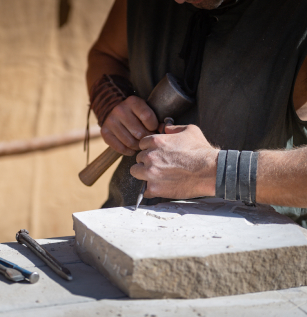

The stones can be trimmed by using a mason’s hammer, wide mouth nippers, or mason’s trowel edge. Straight cuts are made with a diamond or carbide saw blade. Cut edges should be turned so they are not as visible at eye level (turn the stone down when below eye level or up if above eye level). To conceal cut or broken edges, cover them with mortar when grouting.
All you need to know
Installation Guide
This installation guide serves as a guide only and is not meant to act as a substitute for professional advice. As with any construction project, observe safety precautions when installing this product. We also offer installation services!
What You'll Need
Suggested Materials
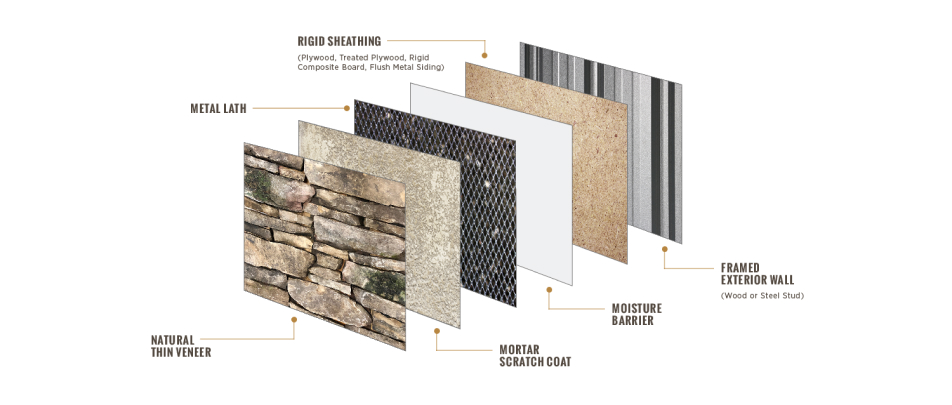
- Weather Resistant Barrier that meets UBC Standard Code 14-1, or Asphalt saturated felt, ASTM D 226, No. 30. Also, a two-ply moisture deflection and ventilation system or rain screen.
- Expanded Metal Lath: Corrosion resistant meeting ASTM C847. Galvanized and self-furring.
- Lath fasteners. All tie wire, nails, and screws must be galvanized.
- Concrete Bonding Agent. Suggested for use on all dry stack installation. (The bonding agent is not necessary in the scratch coat on the substrate). Always use according to manufacturer’s instructions.
- Shims and setting buttons made of lead or plastic.
- Flashing, rigid non-corrosive.
- Type S mortar complying with ASTM C270.
Material’s Checklist
- Point Trowel
- Chisel
- Masonry saw or electric grinder
- Tarp to cover area
- Weather-resistant barrier and moisture deflection wrap
- Staple gun
- Galvanized lath
- 3/5” corrosion-resistant screws (preferred) or nails
- Hammer
- Heavyweight trimming shears or wire snips
- Large sponge
- Mortar (per specifications)
- Bucket or wheelbarrow
- Hoe
- Mortar grout bag
- Joint tools
- Stiff brush (not wire)
- Gloves
- Safety glasses and dust mask
General Installation Suggestions
- Real Stone Veneer Thin Veneer is packaged to allow for a ½” grout joint for coverage of the area. Dry stack applications will require additional stone for the desired coverage. An allowance of extra material is similar in quantity of full stone. However, the overall coverage area is according to application pattern, waste created by chipping, cutting and grinding the stones to create the look. Product should not be installed if the ambient temperatures are expected to drop below 40 degrees F within a 24 hour period after installation. For more information on cold weather construction, refer to ACI 530-05 Section 1.8.
- Install all thin cut veneer in accordance with ACI 530.1/ASCE 6/TMS 602 Specifications for Masonry Structures. Structures that natural thin cut veneer is to be applied to must meet the requirements of all relevant building codes of the area.
- All materials used to install thin cut veneer, including sheathing, weather-resistant barrier, expanded metal lath, fasteners, and cement must meet the requirements of all relevant building codes. Mixing of masonry mortar should be done with Type S Cement and in accordance with ASTM C270. Use Concrete Bonding Agent in accordance with suggested manufacturer’s instructions. Application of Scratch Coat should be done in accordance with PCA Plaster (Stucco) Manual and local codes. Install flashing where necessary and as required by code. Flashing material should be non-corrosive.
- When applying thin cut veneer to any exterior surface, a weather-resistant barrier is required to be installed first according to code. When applying thin cut veneer to concrete or block wall be sure to clean the surface carefully. Walls that have been painted or other sealants applied must be sandblasted, water blasted, acid etched or wire brushed to remove all the treatment in order to ensure a good mortar bond. Failure to remove this prior treatment may cause installation problems.
- Never clean thin cut veneer with a metal brush or acid.
- In order to guarantee correct installation of Thin cut veneer for your specific project, consult a professional contractor or engineer.
Preparation and Installation on Rigid Wood and Metal
Note: The use of OSB board as a backing material may cause cracking of the mortar joint.
- Make sure rigid sheathing is sound and covered with weather-resistant barrier. All weather-resistant barrier joints must be overlapped a minimum of 6”inches. Also, be sure that flashing has been installed where necessary according to local codes. Apply a 2-ply moisture deflection wrap or rain screen for added moisture protection.
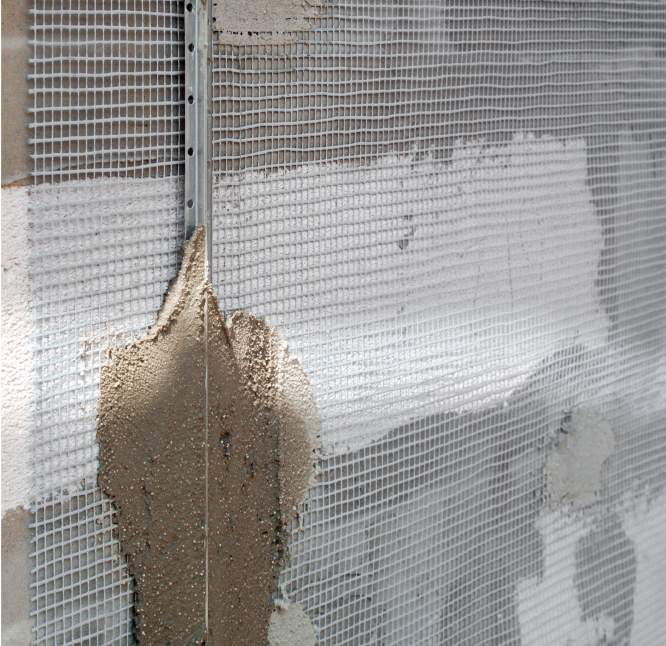
- In accordance with local building codes and ASTM C1063, install the metal lath. Lath must be installed with joints overlapped a minimum of 1” inch. Fasten lath with galvanized fasteners with a minimum of 6” inches on center vertically and 16” inches on center horizontally. Fasteners must penetrate studs a minimum of 1”inch. Reinforce areas around corners and doors with extra lath.
- For installation over metal panels, surface preparation is the same as for other rigid sheathing except that metal lath should be applied with self-tapping screws with a 3/8” head that provides a 3/8” minimum penetration beyond the inside metal surface.
- Scratch coat can now be applied at a thickness of ¼" to ½" over metal lath surface. After applying scratch coat, there should be no metal lath exposed. Allow for the complete curing or drying of the scratch coat. Dampen the scratch coat when you start to apply the veneer stone.
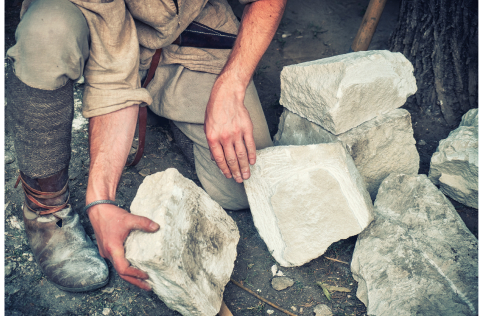
- Lay out a good quantity of stone on a flat surface near your work area (35-50 SF minimum) before installing. Distribute different size, texture and color of stone as desired. When installing the stone, try to achieve a balanced pattern of shapes, colors, thicknesses, and textures by selecting and mixing various stones. Make sure surface to which stone will be applied is clean and free of all dirt, oil or loose material. Moisten scratch coat with water. If project requires Real Stone Veneer corners, these should be installed in advance of the flat surface stone.
- Wipe any dust off the back of each stone and apply mortar with a trowel. Stones must be 100% covered with a minimum of ½" of mortar. Press the stone firmly against scratch coat. Apply pressure and movement to ensure a strong bond. Do not attempt to move stone after initial setup. Use shims as required for maintaining uniform joints. Joints may be filled as necessary to create the desired style.
- Control and expansion joints should be incorporated according to local codes. Leave appropriate sealant recess joints where masonry meets doors, windows, etc. Coordinate sealant recess joints in accordance with codes.
- As work progress keep stone face clean of mortar by using a rag or sponge and water. Allowing the mortar to dry on the face or edges of the stones may change the final look of the product and is hard to remove. After mortar has dried for several days a mild solution of masonry detergent mixed with water can be used to clean the stone face.
- A sealant is not required but can be applied to enhance the longevity and look of the stone. Make sure to test the sealant on extra stones before applying to the stone to determine the color change or outcome.
Preparation and Installation on Concrete Masonry
- Thoroughly check surface that the stone will be applied to, and confirm that it is in good condition and structurally sound. Make sure surface is clean and free of all loose materials or oil residue and covered with weather-resistant barrier. All weather-resistant barrier joints must be overlapped a minimum of 6” inches. Also, be sure that flashing has been installed where necessary according to local building codes.
- In accordance with local building codes and ASTM C1063, install metal lath. Lath must be installed with joints lapped a minimum of 1” inch. Fasten lath with galvanized concrete nails with a minimum of 6” inches on center vertically and 16” inches on center horizontally. Reinforce needed areas (corners, around doors, etc.) with extra lath.
- On clean, unpainted, unsealed, untreated brick, block or concrete or other masonry surface, no surface preparation is necessary. However, for added insurance to minimize cracking or bond failure, use a metal lath and scratch coat. Newly-poured concrete surfaces need close examination to determine if surface contains form oil or other release agents. One method to determine their presence involves spraying with water, and the water will bead or run off the wall. If you determine there is a release agent on the surface use acid etch, wire brush surface, or use a metal lath, and scratch coat. It is imperative that the concrete or masonry surface be free of release agents to ensure a proper bond, otherwise you must use the lath and scratch coat.
- Over painted, sealed or treated brick, block or other concrete masonry surfaces. The surface must be cleaned back to the original surface by water blasting, sand blasting, acid etching or wire brushing. Otherwise, have a metal lath attached using corrosion resistant concrete nails with a scratch coat applied over the metal lath.
Last Few Steps
Fitting, Cutting, & Trimming
Stones should be installed with a uniform size grout joint. A consistent ½” or less space around the stone is desired for the best outcome. Long, straight, unbroken joint lines should be avoided. When installing horizontal styles, special attention should be given to keep the work level. Chalk lines snapped every 8” to 12” as a guide will aid in achieving a level look on completed job. Also, frequently stagger the joint lines both vertically and horizontally.
Step by Step
Trimming
Dampening
Under certain weather conditions, the stone and substrate may need to be lightly moistened with water. If the stone is being installed onto a very hot/dry surface or in hot/dry climate, the stone and wall should be moistened to prevent excessive absorption of moisture from the mortar. This can be done by spraying water onto wall surface and back of stone. Allow the stone and wall to dry for a few minutes to eliminate excess surface water. For joint less or dry-stack installation, it will be necessary to wet the stones regardless of the weather conditions.
Cleaning
To clean the dirt from the stone, use a granulated type detergent or masonry detergent mixed with water and a soft bristle brush. If efflorescence occurs, it is usually caused by excessive moisture migrating through the substrate. Once the moisture is on the surface it will evaporate, depositing the dissolved salts in the form of efflorescence. This efflorescence should disappear in time. You can clean the stone immediately with a soft bristle brush and a solution of 1 part white household vinegar to 5 parts water.
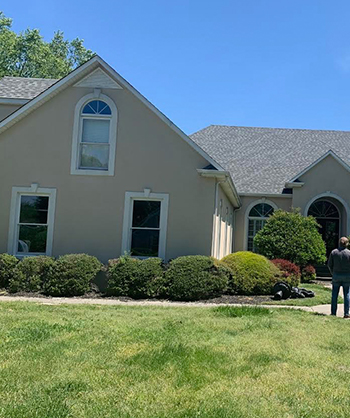
Before
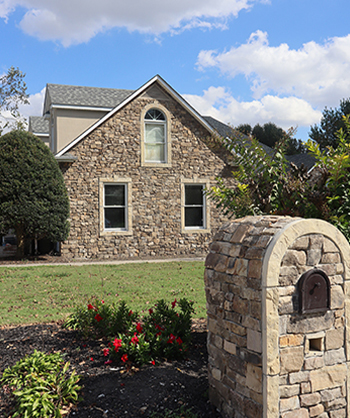
After
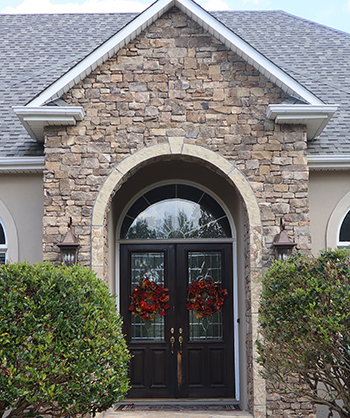
After